Fixing a Bird 4275
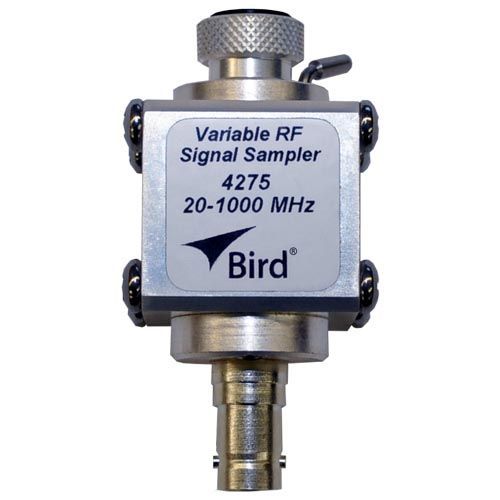
Years ago, a friend gave me a Bird 4275-100 variable RF sampler. When I went to use it for the first time, I found that turning the knob, had no effect on the output at the sample port. So when something doesn’t work, what do I do? Tear it apart of course! What’s inside you ask?
Broken Bird Sampler


The first thing I should say was “tearing” it apart probably wasn’t the best idea but sometimes things need to get worse before they get better.
I discovered that someone had apparently already been there and some of the pieces were missing. The first image above was from the side looking in after I had disassembled and removed the side bushings.
The way this device works is the thumbscrew on the left moves the rod and piston toward/away from the coupling port on the right. Well, this is what is suppose to happen.
Not only was removing the bushings a mistake, but it was also tough getting them out! I say a mistake because the internal line section is splined to the bushings and those bushings are a press-fit into the bore. Once removed, it is very difficult to get the line section and bushings lined up correctly with the holes in the bore. If you attempt to repair this at home, don’t remove the bushings!
Also, it’s worth mentioning here that if you have one of these devices, don’t turn the thumbscrew all the way in (clockwise) with the sample port removed. It could allow the piston to travel beyond the line section and once that happens, there is no way of getting the piston back in without damage!
I removed the bushing thinking I would find the missing pieces. In retrospect, If those pieces were still there, they would have just as easily fallen out of the coupling port. They were nowhere to be found.
Broken Pin – Bird 4275

As you can see from the above image, the end of the rod was broken where the pin attaches to the piston. Unfortunately, the pin was one of the items that could not be located.
Looking for a method to create a new rod, I showed it to a friend that had a 3D printer. He made several attempts however, we just couldn’t create one that would work properly (images below).

I put the sampler on a shelf in the shack. After several years, I was cleaning and organizing and decided to have another go. Either toss it or fix it! So one day, having lunch with another friend I showed him the project. He thought it would be best to use some Delrin and just turn it on a lathe. After doing a little searching on the internet, I just could not find parts or anyone that had been able to properly repair one of these. So, I asked my friend again, if he could turn a new rod for me on his lathe. He kindly accepted! However, I don’t think he really knew what he was up against… It was more work than we both anticipated!
After some careful measurements and thinking about how to get it back together he came up with some very nice drawings. He was able to get the correct measurement needed to create a new rod and pin.


Because the original pin could not be located, a new pin was fabricated using some stainless steel which required some very precise measurements. This is because the piston walls are only .0381 of an inch thick and it needed to pivot on the rod in order to slide into the assembly/line section without being damaged. Also, the pin would need to have an interference fit to the rod in order to keep it from contacting the bore of the line section or dropping out once it traveled below the line section.
You can download a copy of the measurements in PDF format here:
Or Download Dwg format here: DWG
Now, with the new rod and pin assembled to the thumbscrew, there needed to be a way to keep the line section aligned with-in the bore while the bushings were pressed back in. In order to do this, an aluminum block was milled and used to press against. Again, all of this could have been avoided if the bushings were left in place.


Repaired Bird Sampler

Once the bushings were installed the sample port and thumbscrew could be reinserted. Now, where did I put the ends……
A special thanks to my friend John for all of your hard work and time on this project! Well done!
Great work! I look forward to reading about your next project!